Today is the last post in this Friday series, and I'm ending it on a high note by focusing on Blogging with Squarespace. I'm sharing the basics of setting up a blog for your site, but I'll be covering much more information about sidebars, archives, and post features in today's live Squarespace webinar (as well as an exciting Elle & Company announcement). If you haven't signed up yet, there's still time! Click here to register for the webinar before 12pm EST today. If you can't make it, no worries. I'll be sending out a link to the recorded session in the weekly Elle & Company newsletter (the sign up form is in our blog sidebar).
Blogging with Squarespace is simple and intuitive. From adding a blog page to creating and publishing a post, the blogging process in this platform is very straightforward (especially for those of you who don't have any previous experience with coding).
Blogging platforms are always a topic of great debate and can be a touchy subject for some, so I think it's important to preface this post by stating that different platforms work better for different people depending on their needs. I made the switch to Squarespace from Wordpress and Blogger because I needed a backend that was user-friendly, a template that was easy to customize, and great customer support. I've never looked back or regretted my decision, and I highly suggest Squarespace to each of my clients. But because Squarespace is comparatively new to the scene, people aren't as familiar with its blogging capabilities.
My goal today is to show you how simple it is to set up a Squarespace blog - whether it's for your business, your portfolio, or just for fun - so that you have a more well-rounded view of what this content management system has to offer.
Adding a blog page
In the home menu of your site, click Pages and select the + icon next to Main Navigation.
Select Blog from the New Page menu.
Hover over the new blog page in your sidebar, and click the gear icon to configure your blog settings.
In the pop-up window, you can change the basic settings like the navigation title, and page title, and the number of posts you want to display on each blog page. You can also create a password for the page, change the URL of the blog, or set it as your homepage. Under the Advanced feature in the top right corner of the window, you can manage your blog post tags and categories.
Creating a blog post
Click the Blog page in your navigation list.
Choose the + icon in the upper righthand corner to create a new post, and the blog post editor will appear.
From this one pop up window, you can add a title and content, choose categories and tags, and schedule, save, or publish your post.
Blog posts are set up by using Squarespace blocks, just like Squarespace pages. To add content like text, images, and video, click an insert point around any existing block.
Setting Up Pages and Navigation in Squarespace
Using Squarespace Blocks
In the bottom lefthand corner, you can add categories and tags to organize your blog by topic. Squarespace has a lot of helpful tips about tags and categories here.
You also have the ability to enable or disable comments for a blog post at the bottom of the blog post editor. If comments are turned on, visitors can comment on published posts. If you would like to set a time limit for comments, click "never" to set a date and time when comments will be disabled.
And in the bottom righthand corner, you have the option to save the post as a draft, publish the post, or schedule the post to schedule later.
The Options tab in the upper righthand corner allows you to add thumbnail images for indexed views and social media shares. More on adding and using thumbnail images can be found on the Squarespace Help page here.
Further down on that same page, you can add an excerpt to give your readers a brief look at your post. If you tend to write longer posts or you want visitors to open each post, a blog expert makes it easier to scroll through your blog and choose posts to read by clicking "read more." If you choose not to include a blog excerpt, your posts will appear at full length. You can read more on Squarespace blog excerpts here. Note: Not all templates allow you to show a blog excerpt.
Previewing and editing your posts before publishing
One of the things I enjoy most about creating posts in Squarespace is the ability to make blog post edits while I'm in preview mode. To see what a blog post draft will look like once it's published, simply click on the draft in the sidebar. To make edits in preview mode, hover over the content and click Edit in the menu that appears.
From there you can make edits to the title and text, and you can also add new blocks. If you want to get back to the full blog post editor, click Settings in the upper righthand corner.
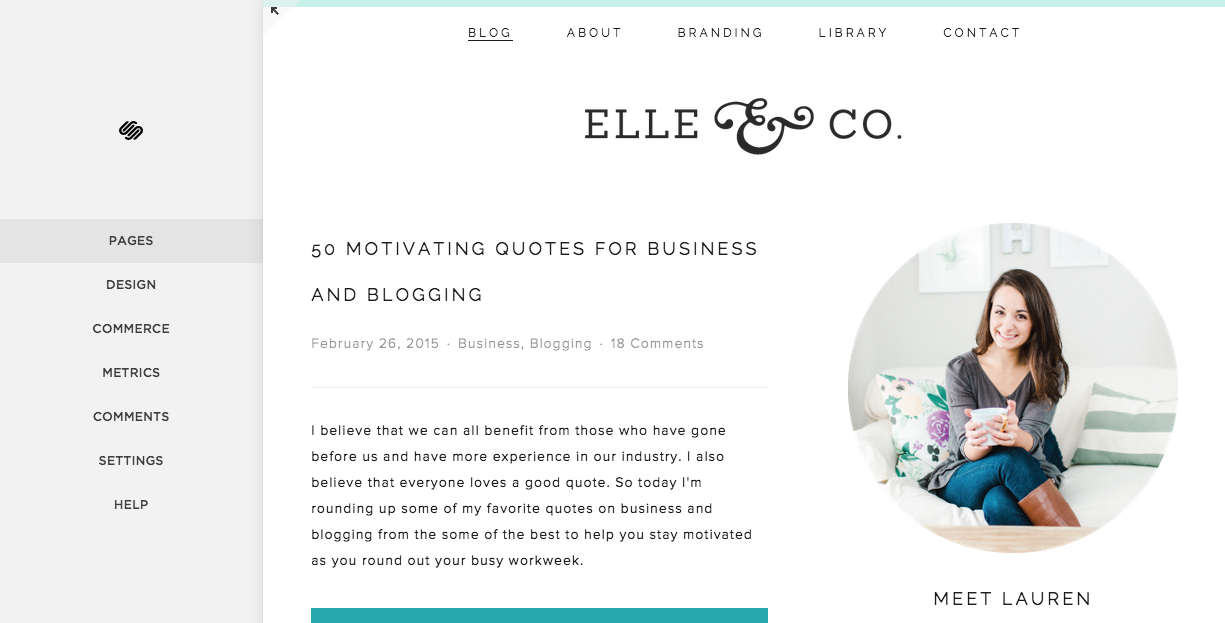
Adding & editing a blog sidebar
It's important to note that not every Squarespace template give you the option for adding a sidebar to your blog. This has been a popular question in this series, so this might make things easier:
Templates that include a blog sidebar
To enable your template's blog sidebar, go back to the main menu of your site, select Design > Style Editor. Scroll down the page until you see the Blog section and edit the Enable Blog Sidebar option.
To edit your blog sidebar, exit the Style Editor and go back to Pages. Select Blog and hover over the sidebar portion with your mouse. Click the Edit button that appears.
The sidebar is made up of blocks just like each Squarespace page and blog post. By clicking the insert points that appear around each block, you can add content like photos, text, social media icons, buttons, galleries, and more.
Be sure to check out the Elle & Company webinar page to sign up for today's Squarespace webinar and watch the last recorded webinar on customizing a Squarespace template! If you can't make it to today's live session but are interested in learning more about blogging with Squarespace, sign up for the weekly newsletter at the bottom of the webinar page and I'll send you a link to the recorded session.
Do you have any Squarespace questions that we left unanswered in this series? Leave us a comment! Jake and I would be happy to answer them for you.


